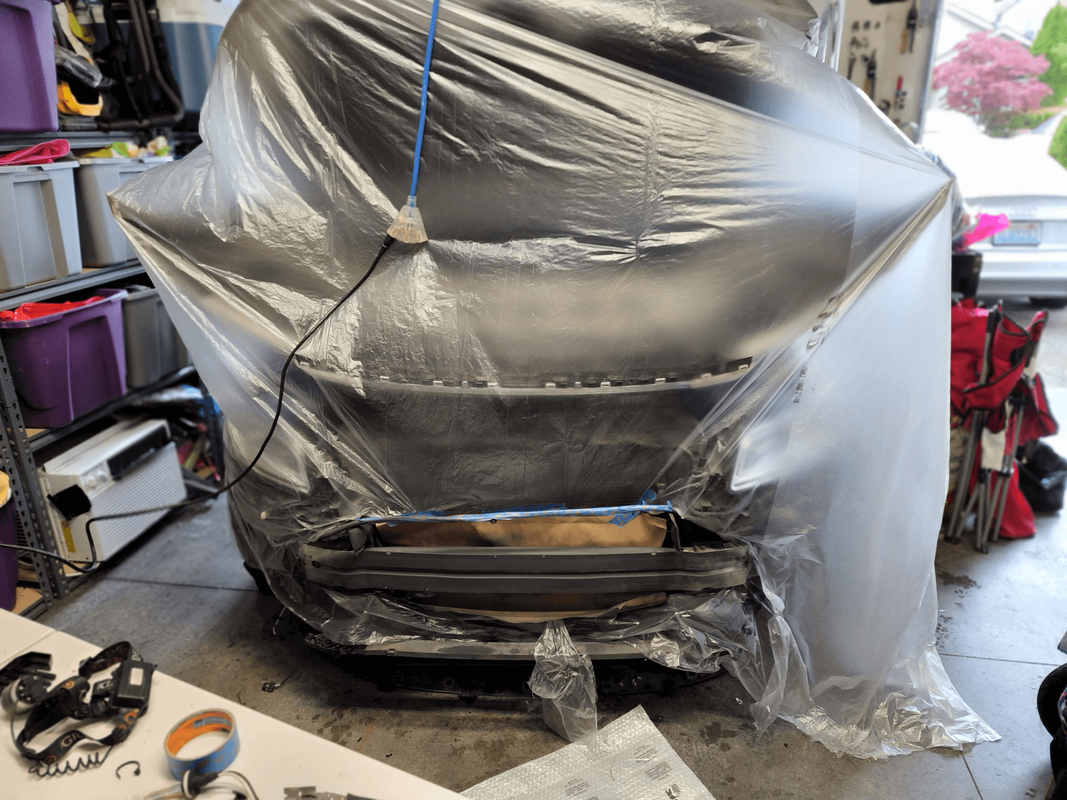
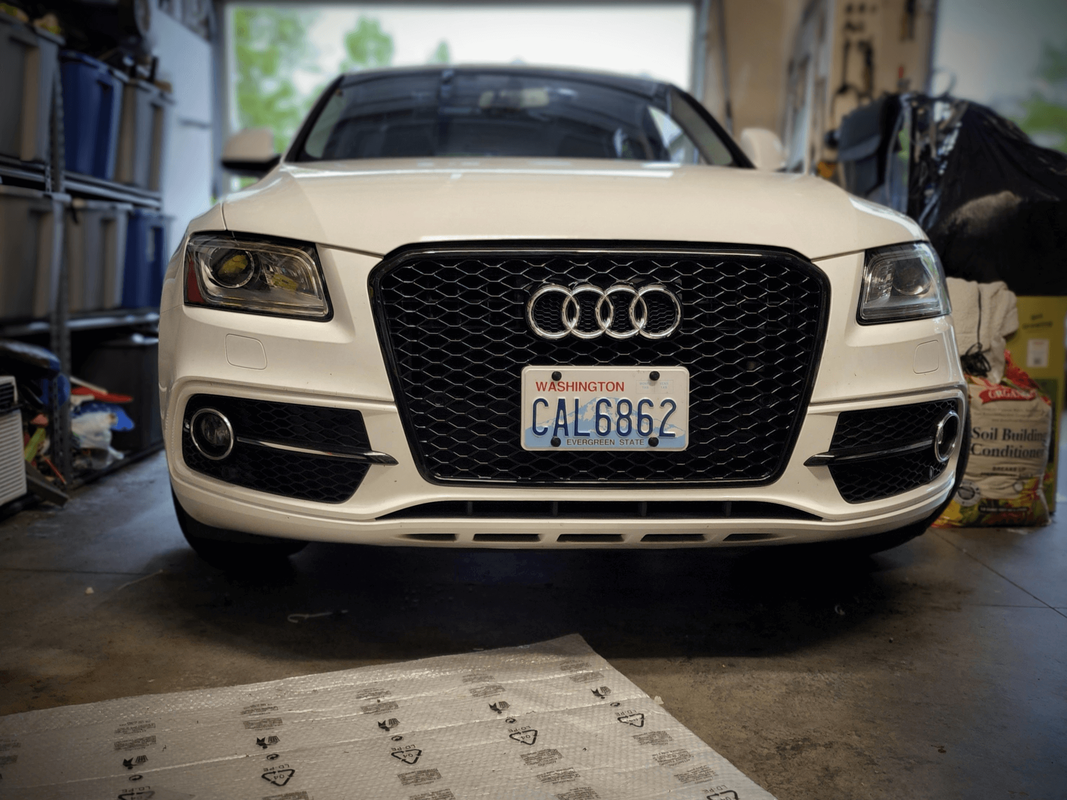
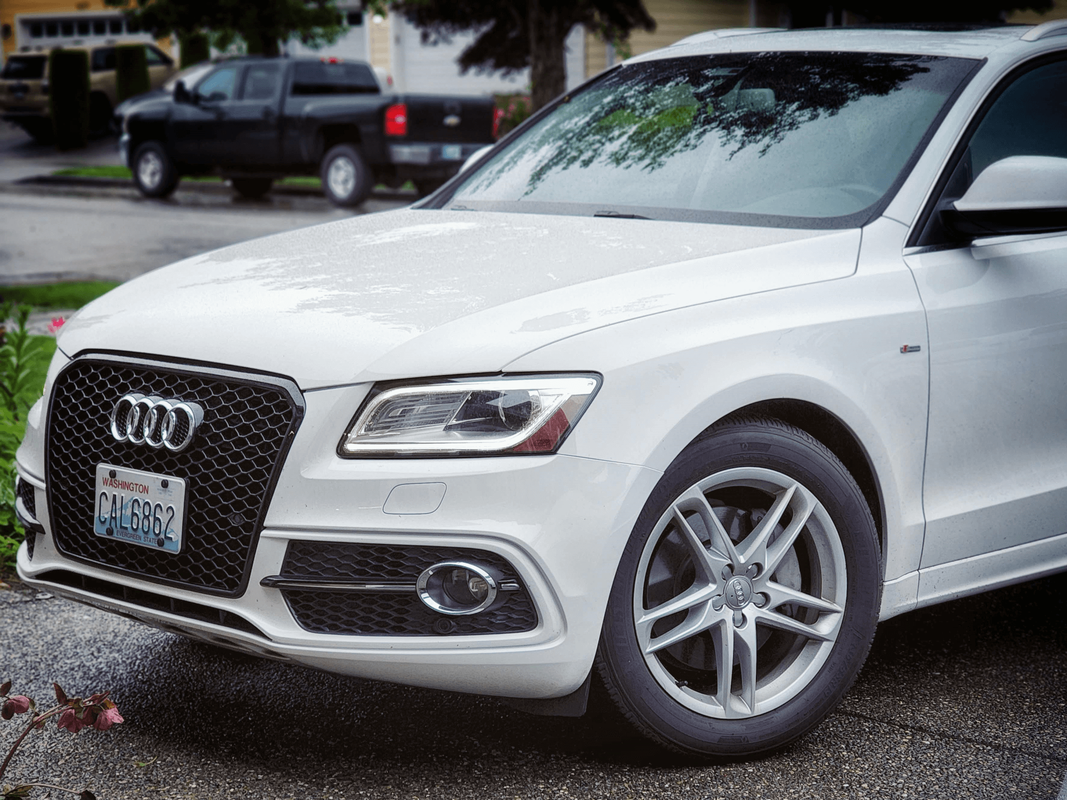
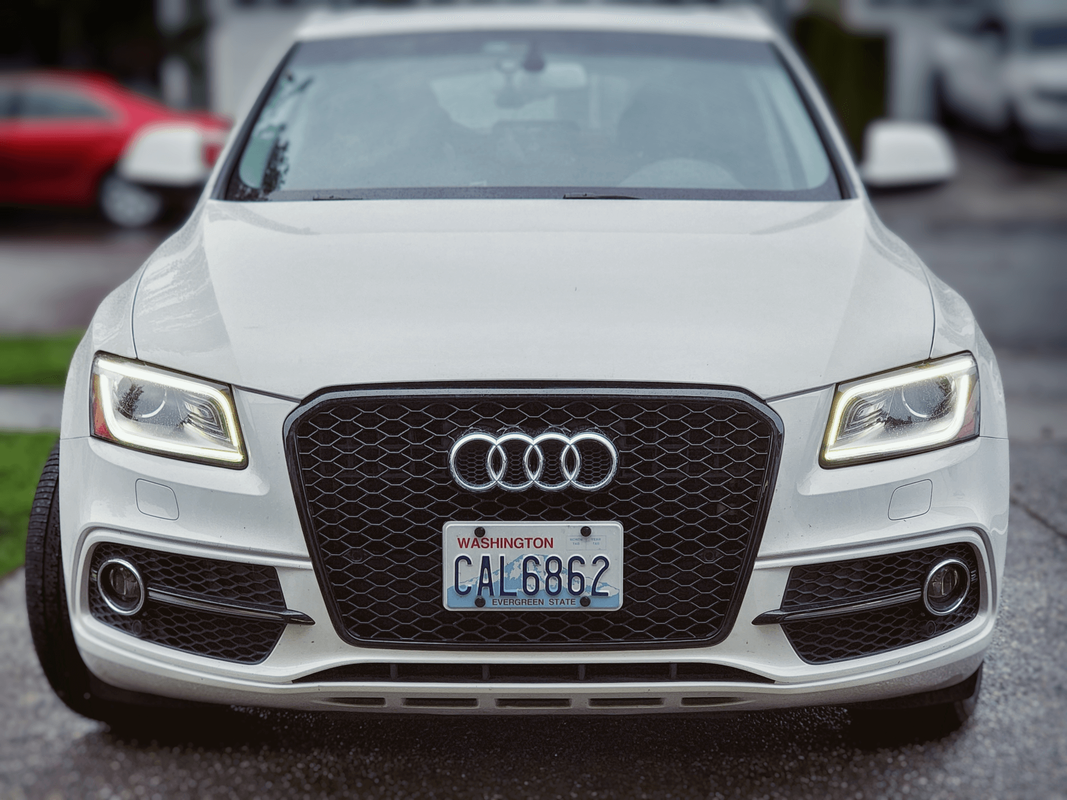
| Don't worry, I'm not adding the RSQ5 badge, but I did install the grill and it looks amazing! Yes I did get it from eBay, here is the link: https://www.ebay.com/itm/403301463231 (no idea how long the link will be valid) I think we've all seen these grill at this point so I'm no where near the first to install it, but I kept hearing people say how hard the install was. I'm just going to put that too rest for at lease those with Q5's... this was NOT hard. Yes it took me about 4-5hrs to do, but I was taking my sweet time and just being careful. Now maybe it is harder for the SQ5 crowd as they have a slightly different bumper, but again for Q5 owners don't be scared to give this a try. Removing the bumper was the hardest thing, and still, that was very easy to do. As for the trimming of the RSQ5 grill, the only thing I had to trim was the lower portion of the grill as shown below: 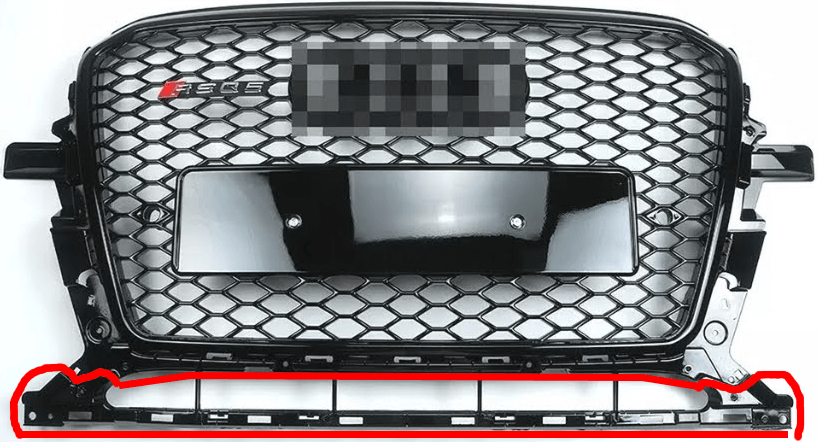 What helped me was to have the new grill lay on top of the old grill so I could see what needed to be trimmed. I think I spent maybe 10mins using the dremel to make quick work of everything. A bit of advice, a lower speed for dremeling plastic is better to avoid melting it. I will say that my grill didn't have dedicated mounts for the euro plate. I know other versions of this grill does, but this one didn't. That alone likely saved my a few hours of work. This grill included "U" brackets for the plate holder which was useful later on in the project. While that was happening I was laying down coats of flat black paint over the crash bar. I may have gone a little crazy to mask off the front of the car, but since the Q5 is white, you have to be cautious. I likely should have put some primer down first over the crash bar, but honestly I got lazy. If I redo this I would likely go with a bed liner type of paint at it is more durable, you just need to apply it in warmer weather. At this point the we are encountering one of the coolest wettest springs in a long time. I was cheating a little using a heat gun at the lowest temp to keep the drying process relatively quick. Putting the bumper back on with the new grill was pretty straight forward. Trying to hide the parking sensor wires was kind of impossible without cutting the wire up to make them run outside and around the grill. Since I wasn't going to do that (might be a future project), my only option was to have them go straight back and go over the top lip of the crash bar. While I was there I add a few layers of electrical tape around the harness ends for the parking sensors to both hide the wires better and offer a little more shielding from the elements as they are far more exposed with this setup. Obviously this pictures wasn't taken in direct sun light, but the wiring is still pretty hidden.  Sadly my last step was getting the front license plate installed. It is required in my state, so it is a must. As I hate the look of a US spec license plate on a euro plate holder, I went with this from Amazon (https://amzn.to/3xncdFX) (affiliate link). What I liked best about it was that there was a lot of different mounting holes to give me a lot of flexibility to mounting it properly. I reused the bolt and "U" like bracket that came with the grill's euro plate holder for the new US spec plate holder. As well added 4 black zip-ties in each corner to keep it solid on the grill (sorry forgot to take pics of that portion of the install). And for the final result we get this.... The wife loves the look of her car, so I'm happy. What's next with the Q5 and is the S4 still around? Yes the S4 is still around, just hanging out in the garage a lot more than normal (still working from home). I got a few little drivetrain rattles I need to look into, but other than that it seem running good. Hopefully some day we will go dual pulley. As for now the next Q5 projects are little unknown. We might play around with a different color for the stock wheels. While I would love to get some 20's as they keep that meaty tire look (21in are just too big in my opinion), I'm just not sure I want to drop the money for new wheels and tires just yet. I certainly will be adding some wheel spacers, just not sure if we want to go with the super flush 15mm (front) 20mm (rear) setup or something a little less like a 10/15mm. Again I like the OEM+ look vs the "hey look at me I'm super modified look". Any future performance upgrades are pause at the moment as I chase down a oil leak. Seems to only leak while the car is running and it collecting right around the oil pan. A mechanic buddy of my already checked the oil filter housing and upper timing chain covers (no leaks), so the most common places seem to be out. The location of the oil doesn't always tell the true story as air flow moves it around. That said it just seems like the oil pan is the likely source as it seems to be sweating oil, but there is no area where it is dripping. Hopefully it is just bad drain plug, so I got a new one with proper copper crush washer ready to install for the next oil change. If that doesn't help, either the oil pan seal is the problem, or maybe we got a PCV issue and it is just collecting down there. It being a car with over 100k+ in miles I'm sure the PCV is near the end of it's life. Anyway, I'll start with the most basic fixes and go from there. Once the oil leak is resolved, next on the list would be a MercRacing heat exchanger and a 207mm crank pulley. This allow us to jump from a Stage1 to Stage 2 dual pulley without touching the supercharger pulley. I don't want to deal with belt slip and this is honestly way easier to install than crank pulley. Supercharger pullies are hard to install, but why bother renting the tool and doing the oven dance of heating pulley and racing to get it installed. I like to think I'm older and wiser now... Maybe ;)
0 Comments
Leave a Reply. | ArchivesNovember 2022 CategoriesAll |

 RSS Feed